
Elite Cadre were lucky enough to be sent an early copy of Shadow and Scum, the new 2 player starter set for Warmachine from Steamforged Games.
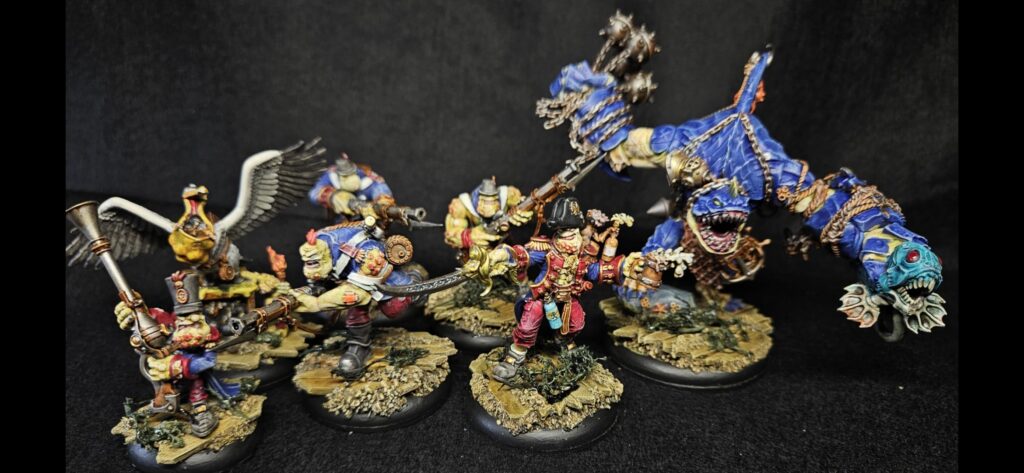
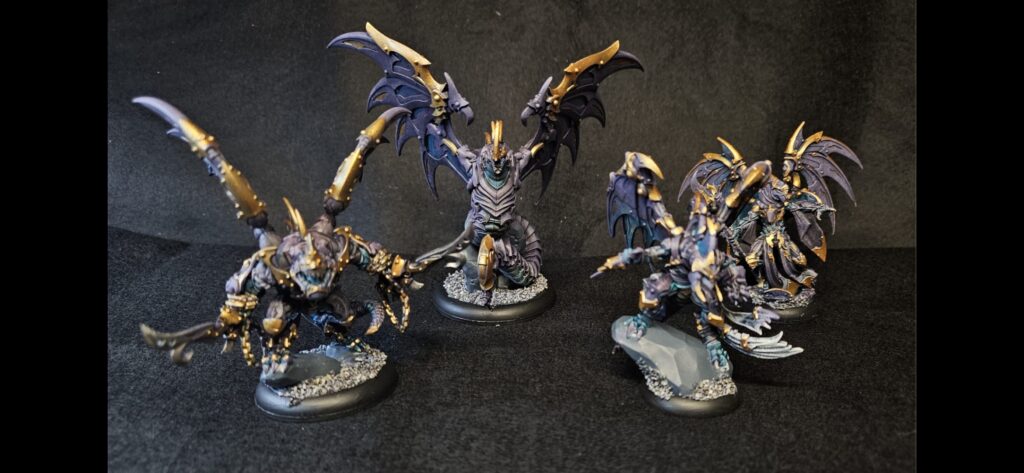
The box contains 30 point character cadre expansions for Southern Kriels Trolls (Foulblood’s Armada cadre) and Khymaera (Shard Nocturne cadre). Much like the Cygnar/Khador box that came out in late 2024.
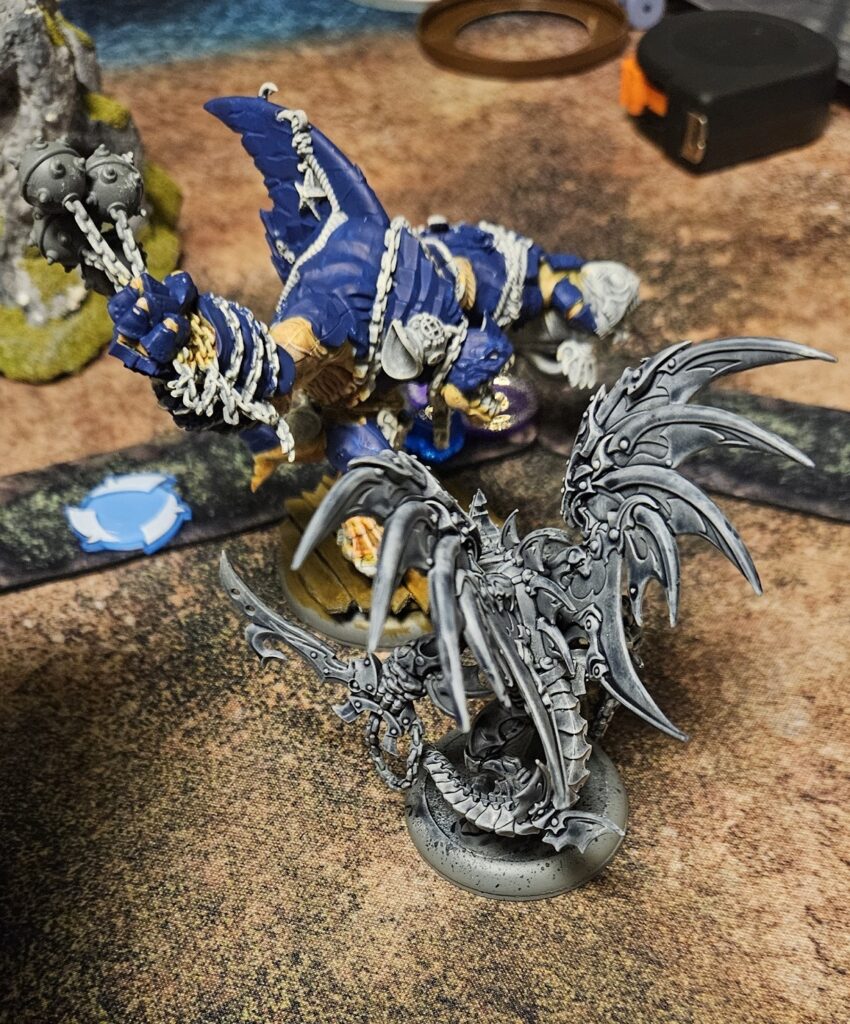
The two halves of the box are quite different from one another. While they both have a new Warlock leader model together with character Warbeasts, a three man character units and two character solos. The roles and rules for each of them couldn’t be more different.
In episode 108 we discussed opening the box and assembly of the models. Steamforged Games were also good enough to share an early draft version of the rules for the models. In order to see how they played, we have pitted these Cadres against one another in three games.
Rather than try to struggle with Steam Roller scenarios with only 30 pts, we decided to look at the BattleForged missions in the Warmachine App. You need a subscription to access most of the scenarios, but they are very varied and interesting games to play. Especially as a palate cleanser to SteamRoller.
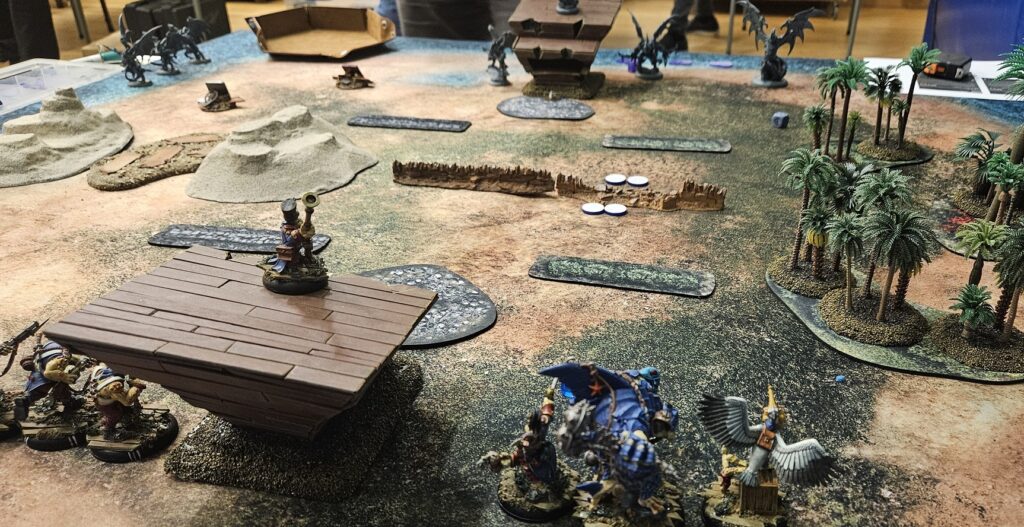
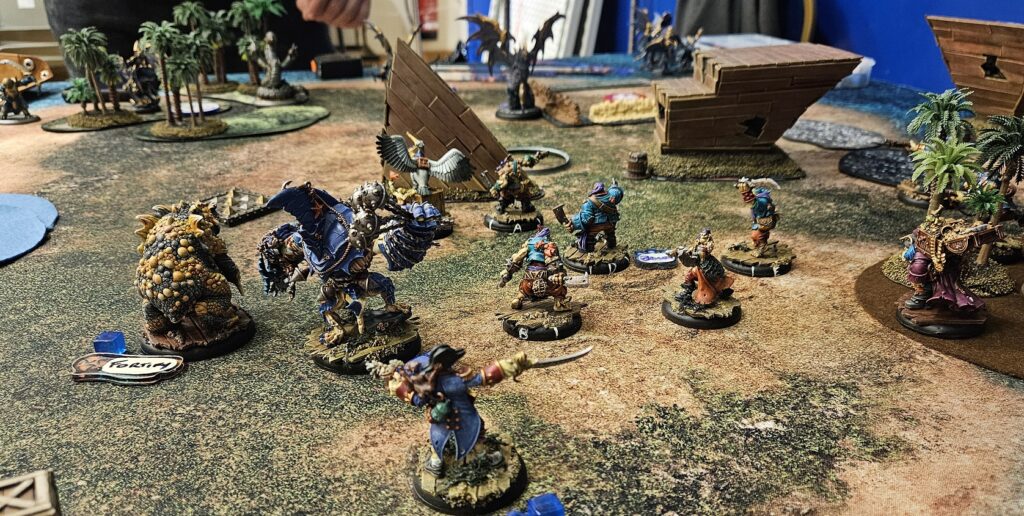
I had also recently finished building some pirate themed island/shipwreck Warmachine scenery, so it seemed like a match made in heaven for Foulblood’s Armada.
Game 1: Kill The Messenger…
We started off with Kill The Messenger, which seemed like a fun scenario for a small army game. We arranged a grid of 9 small objectives as instructed, with the aim of each designated ‘Messenger’ (a chosen solo) to touch any objective on each of the nearest two rows, but to reach a secretly chosen objective on the far side.
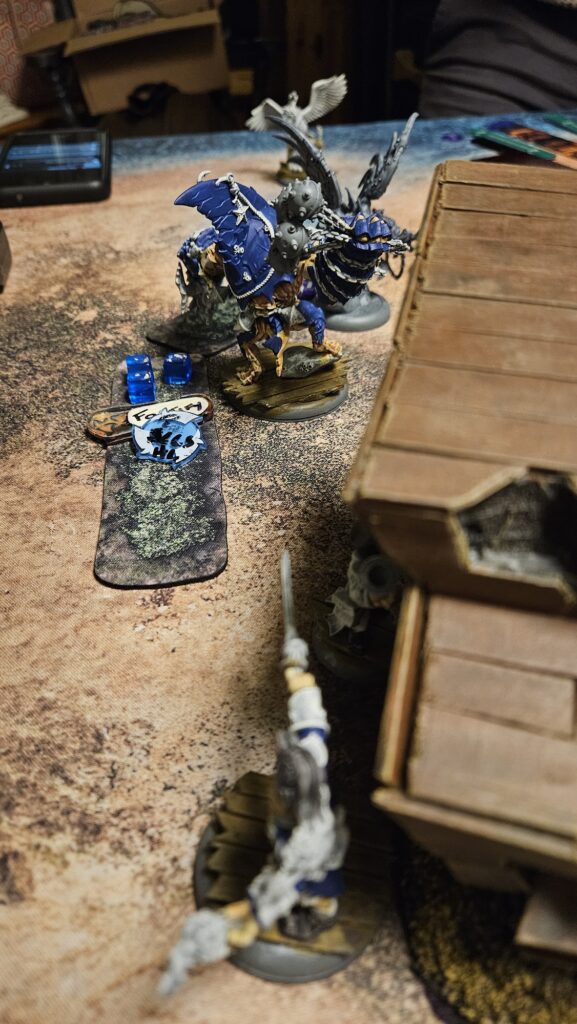
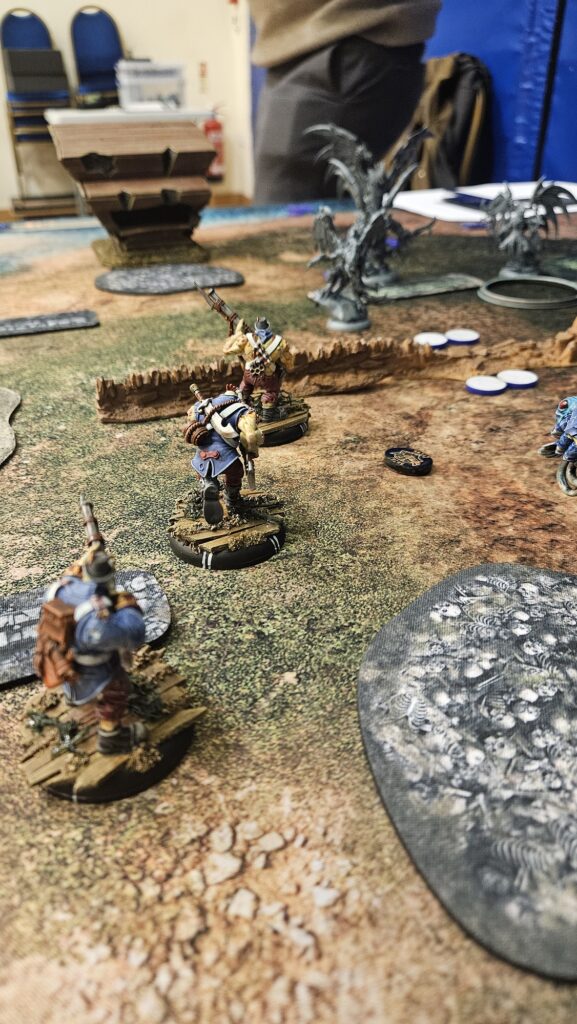
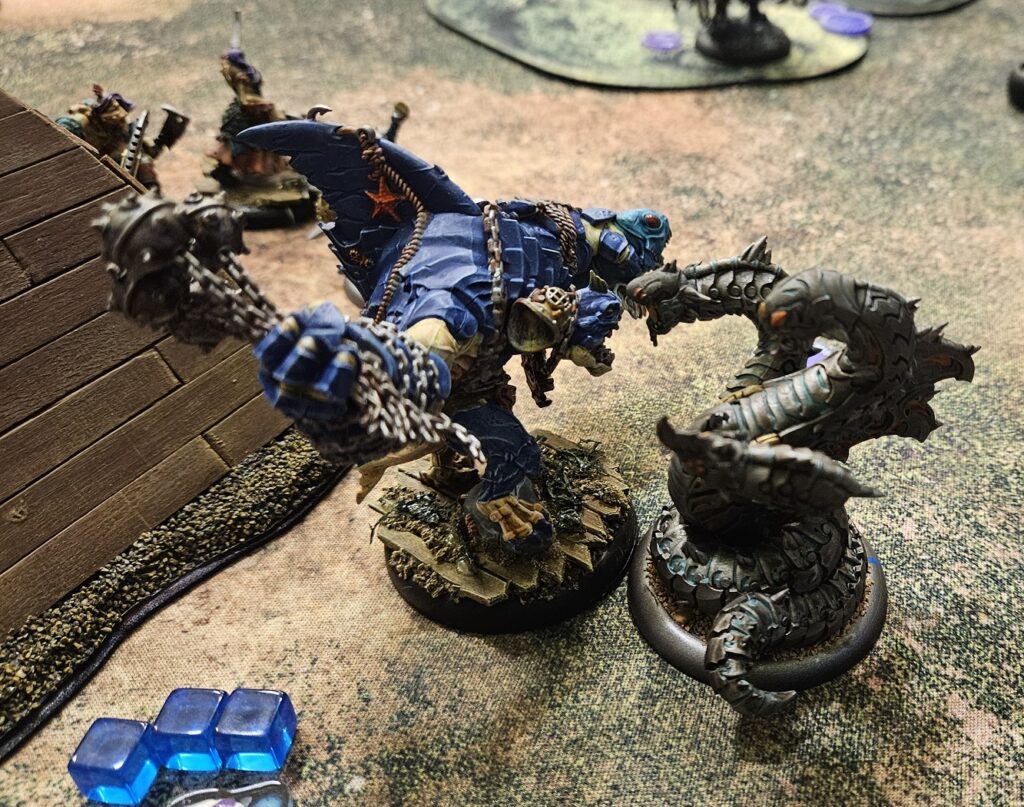
N.B. The models were not fully painted by this point, so the pictures are minimal and less interesting. 🙂
As the Troll player, it seemed like Khymaera would have this one sewn up. Being faster and every model having flight. They seemed like they would be better at darting between the matrix of small objectives.
But we were both green with our forces and the Lochabash Brothers had a much longer threat range than either of us had expected (Speed 6 with 2 inch Melee and Gang). And a small mistake/ misplace by the Shades unit meant the Brothers got the charge on them and took them out by making best use of Side Step to maximise Gang.
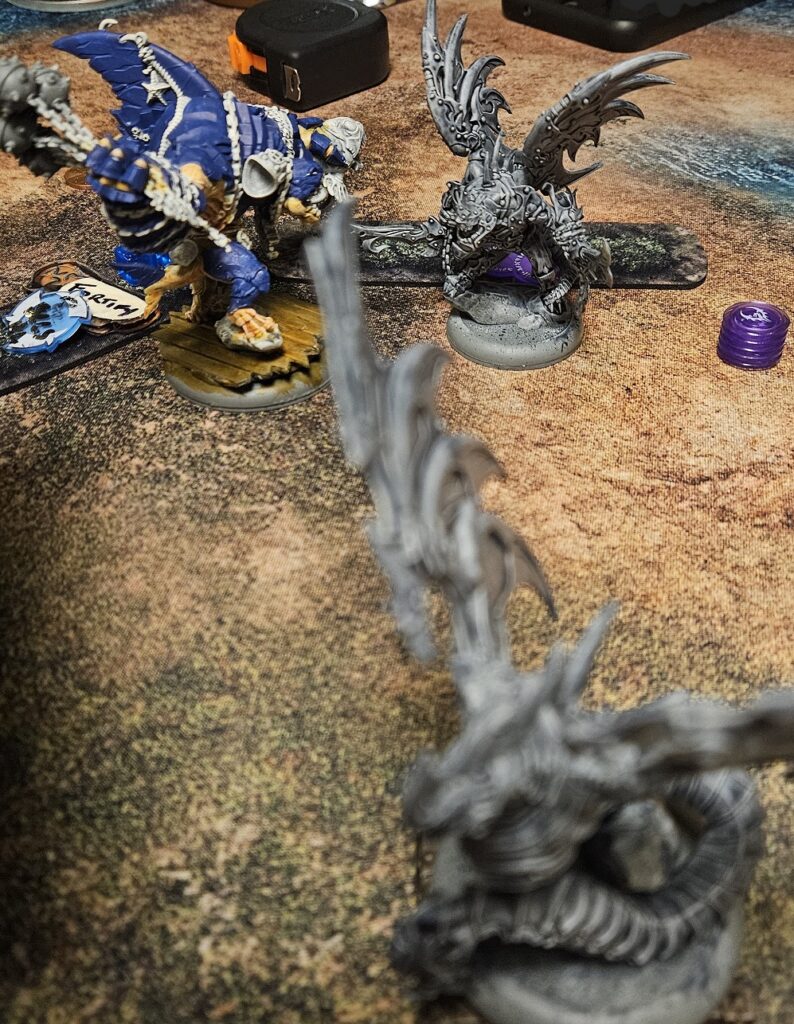
We also learnt the hard way that not all warbeasts are created equal and that Aklyss cannot go one on one with Chum. Chum’s resilience was tested as both Aklyss and Vallyx attacked him, but he managed to stay in the fight for several turns.
There was a lot of learning, but in the end with a unit and a warbeast up, Commodore Foulblood eventually secured the victory, at least in part helped by Sully the Pelican’s speed and flight to get the message delivered.
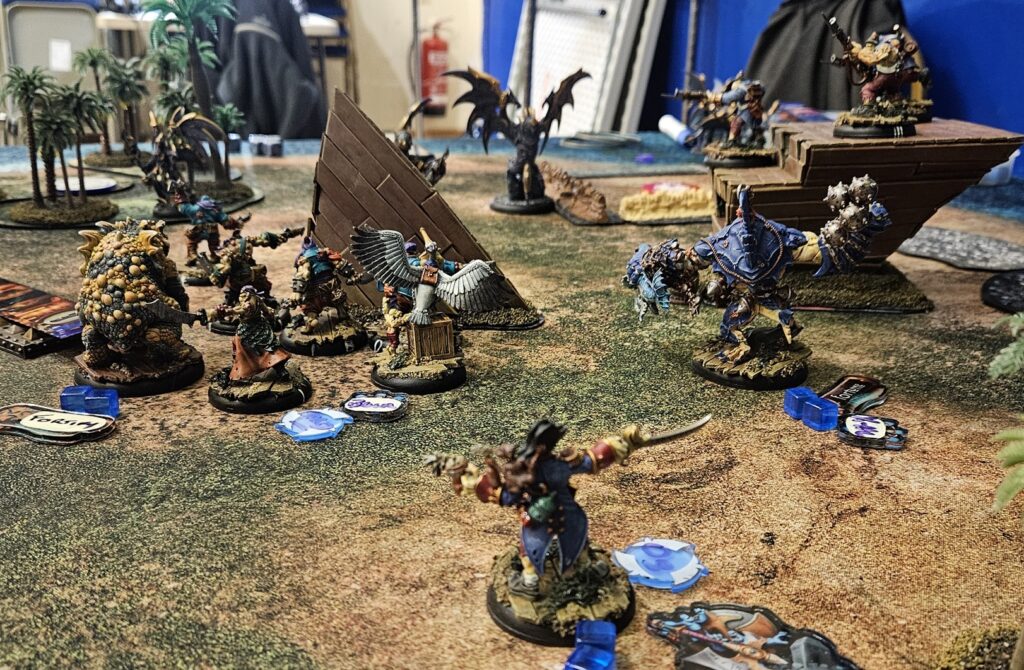
Game 2: Deadlights…
Deadlights is an interesting scenario: two guard towers face one another from opposite sides of the battle field – (shipwreck hulls stood in for the towers) I thought the spotlight token that you can move around and remove stealth was interesting, but it didn’t amount to much in the game. If you have models in the tower you can move the token around the board. The layout was quite busy but it made for an interesting game.
I had a very cautious start, the Lochabash Brothers moved cautiously up the middle of the table, trying to bait Regulus into attacking. Chum moved up but stayed out of range. Sully moved up through the trees, presenting a target to try and draw more valuable targets in. Pythia unexpectedly charged Sully, killing the bird, but his explosive Fiery Blast killed Pythia in return.
The Furies ambushed this game into the Troll backfield, and Mr Bogs had to leave the tower to ensure they weren’t scoring points for being in my deployment. Chum got a little over aggressive and ended up in the middle, threatening Aklyss, but instead of trying to tangle with Chum, Aklyss killed one of the Brothers instead. Vallyx buffed himself up as much as possible and charged in. It took every attack and all Vallyx’s Fury, but Chum went down. The Trolls suddenly felt on the back foot.
As a last ditch effort, Foulblood buffed himself with Fortune and Fury Strength and charged in. He only had two solid boosted attacks, with rerolls to hit, but it was enough. Vallyx, with no transfer Fury went down.

Game 3: Hidden Treasure…
For the third game we thought we would see how the Cadre would behave with a little support, so we added 20 more points to both sides, taking us up to 50pts. We also opted for Hidden Treasure – which was fun, but took some workout out. I think we would both be keen to play this one again with fresh eyes.
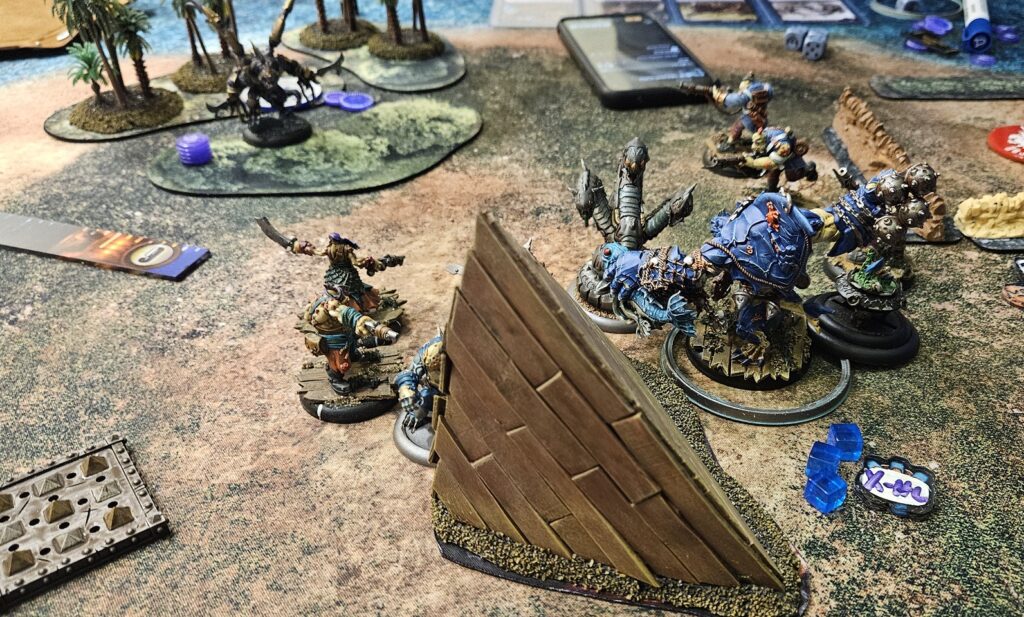
The obstruction in the middle is the location of the first clue, whoever takes it first then roles a dice in secret. The dice role refers to one of six 50mm objectives. The second clue then denotes the location of the third and final location of the treasure.
Needless to say, we didn’t even manage to uncover the first clue – we just ended up fighting around the middle. Trolls went first and closed on the obstruction (shipwreck) first, Sully the pelican closing the distance and then a unit of Marauders just about reached as well. This then forced Khymaera to contest. In hindsight, Khymaera’s greater speed and flight in most units, meant that if I had taken the first clue they would likely have outmanoeuvred me into the subsequent locations. But that aside, a gradual cage fight developed around the central obstruction.
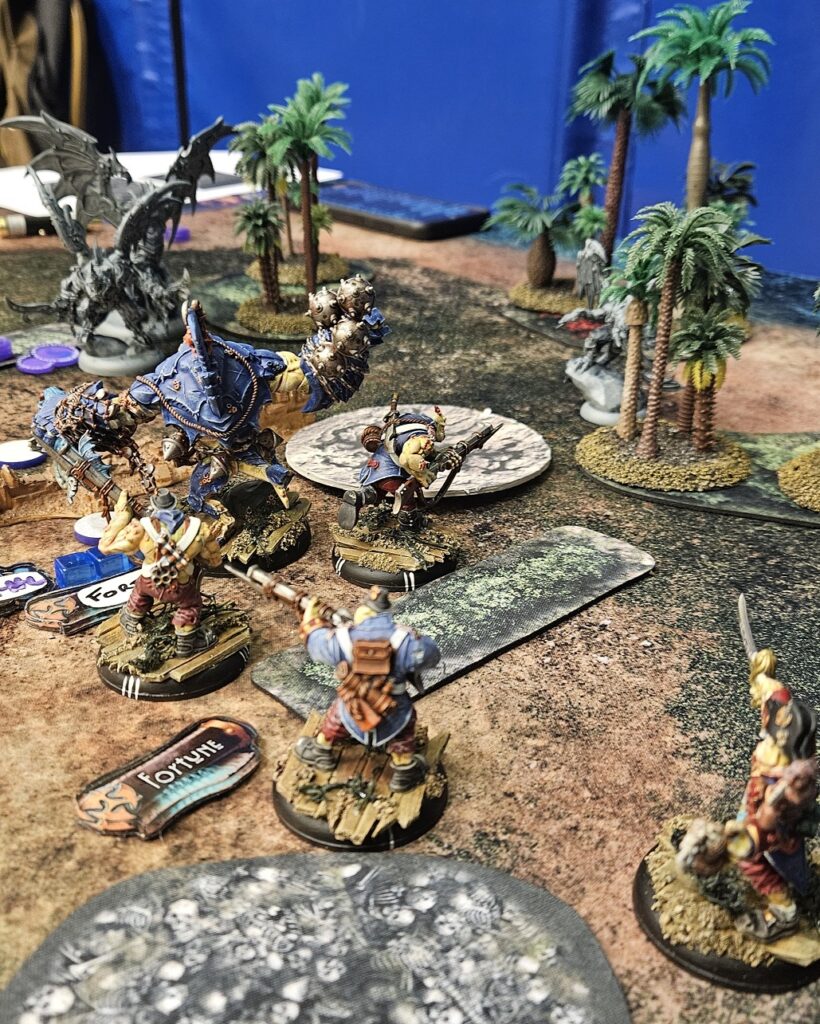
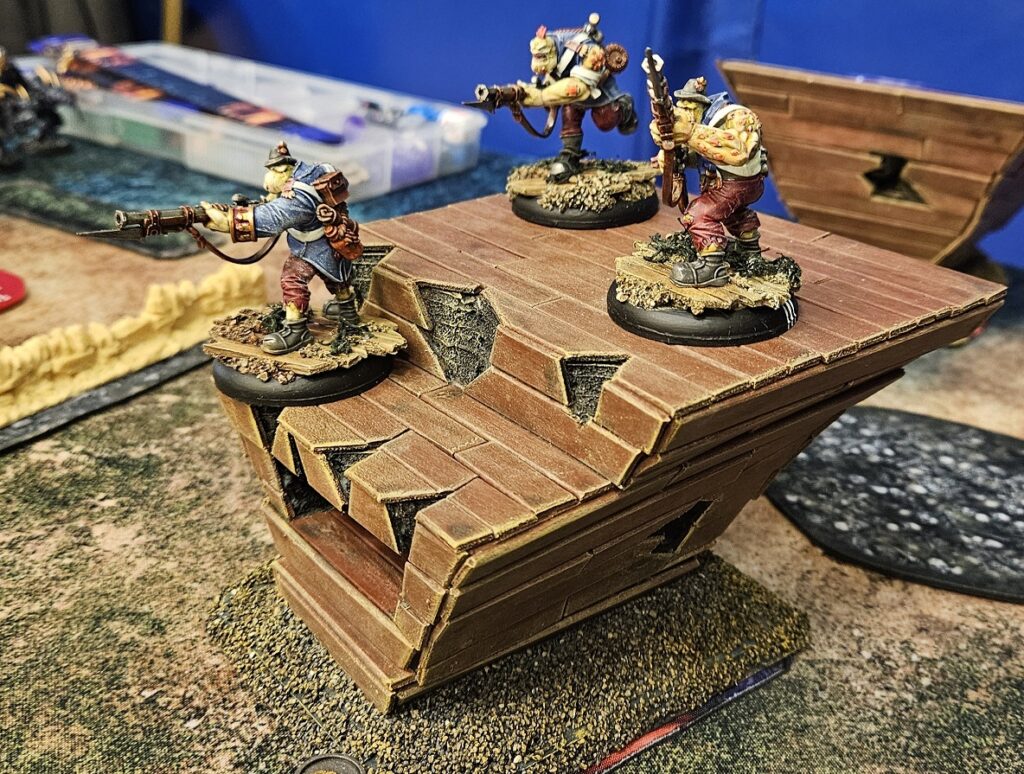
Khymaera aren’t the best at prolonged conflict, but with clouds to prevent charging from Aklyss and Vallyx as well, it made it challenging for the Trolls to make a convincing opening charge. Chum pushed up to the right of the shipwreck obstruction, and the Vrogger on the left, with his resilient skin and Fortify making him feel brave. Foulblood popped his feat (the first time so early) which grants +3 Arm to all models with Stumbling Drunk. He then activated his Battle Plan: Open Bar ability to grant all models within 10” of him Stumbling drunk to maximise the potential of the feat. The Mauraders also advanced up as far as they dared, to try and tempt the enemy a little closer, the Booty Boss also gave them Set Defense.
The Khymaera player then spent a long time planning out his options and eventually declared he felt he could kill the Vrogger, which was definitely a surprise. Vallyx charged into the most outstretched Maurader, killing him with the second hit. He then lauched a ranged attacked at the Vrogger, attempting to pull him out of the feat bubble and into range of the Talon Lashers charge. He pulled him in, but failed to damage and Stumbling Drunk triggered, enabling him to move away from the Vroggers (Foulbloods feat enables the direction of the stumble to be chosen). But then Vallyx Vanished, and attacked again, pulling him in once again, and damaging this time without the benefits of Stumbling drunk, or the feat. Vallyx had triggered Swift Hunter and enabling him to move to safety. Pythia then moved in to dispel Fortify and the Talon Lashers charged in and managed to remove the injured Vrogger with the additional die they get on damage rolls against damaged models.
The following turn was critical, The Lochabash Brothers had taken an aggressive position on the right flank, as the Shades ambushed on the opposite side. Aklyss had placed a cloud to make it harder for them to charge, but they still had the choice of Aklyss or the Hydryx. With Stur the Blood from the Booty Boss with Blood Fury and Fortune from Foulblood and Gang, they could charge in at Pow 18 hits. The question was at which heavy beast. In the end, the risk of not doing quite enough damage to the Hydryx decided it, they charged in and removed Aklyss. This proved to have been a mistake.
The Hydryx managed to dispatch Chum the next turn, leaving me without warbeasts, and it was a matter of time before both casters were at one another throats in the middle of the field. Vallyx brought Foulblood down to a single wound, but just when I thought I might pull off a surprise victory, the Shades all threw their Fang blades, and one eventually hit home.
Conclusion
Over all, the box feels much more balanced than first impressions seemed. Much like the Cygnar and Khador cat and mouse games of the first HIPs box. The Trolls can definitely last longer in a fight, but if Khymaera stay out of range and manage to get that first strike, it’s anyone’s game.
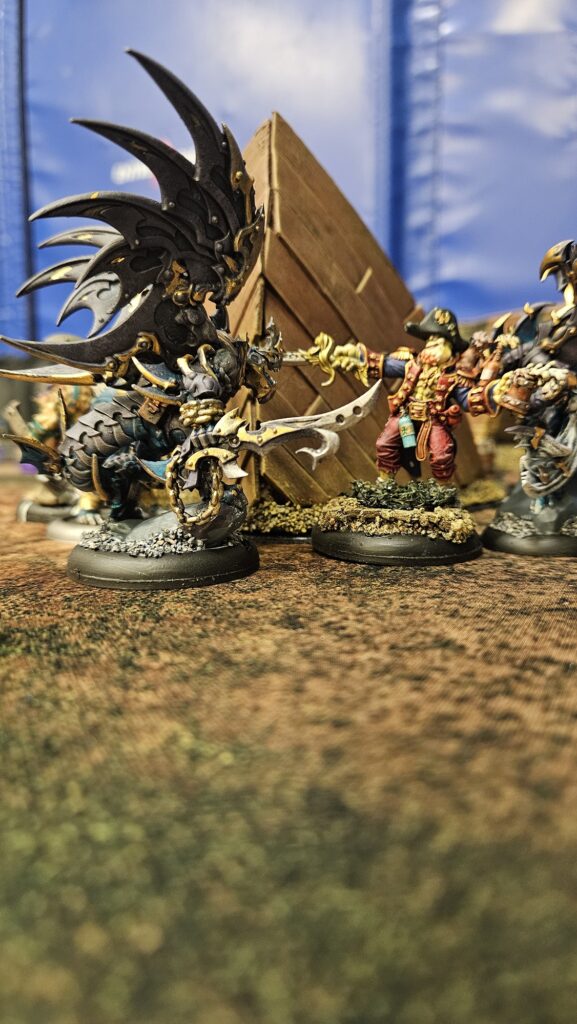
On the table top they are both a lot of fun too. Aklyss is a force to be reckoned with, and Foulblood is a great support and upkeep caster for Trolls. The models on both sides are just fantastic, with so much detail and flair. They are easy to assemble and a joy to paint.
Elite Cadre highly recommends this box and would like to thank Steamforged Games again for sending us an advanced copy of the box.
Kurt
@kurt_j_hanson